
Last updated October 15, 2026
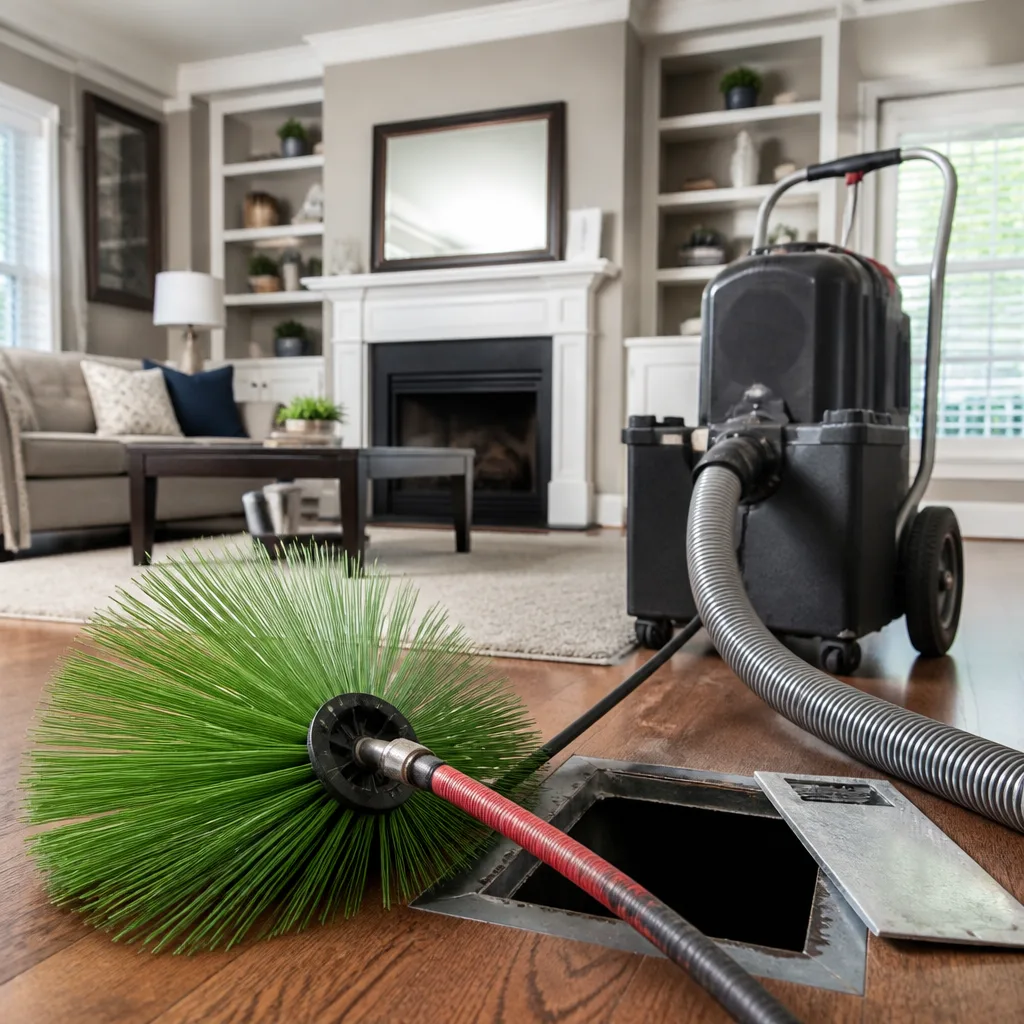 Whole-home duct cleaning
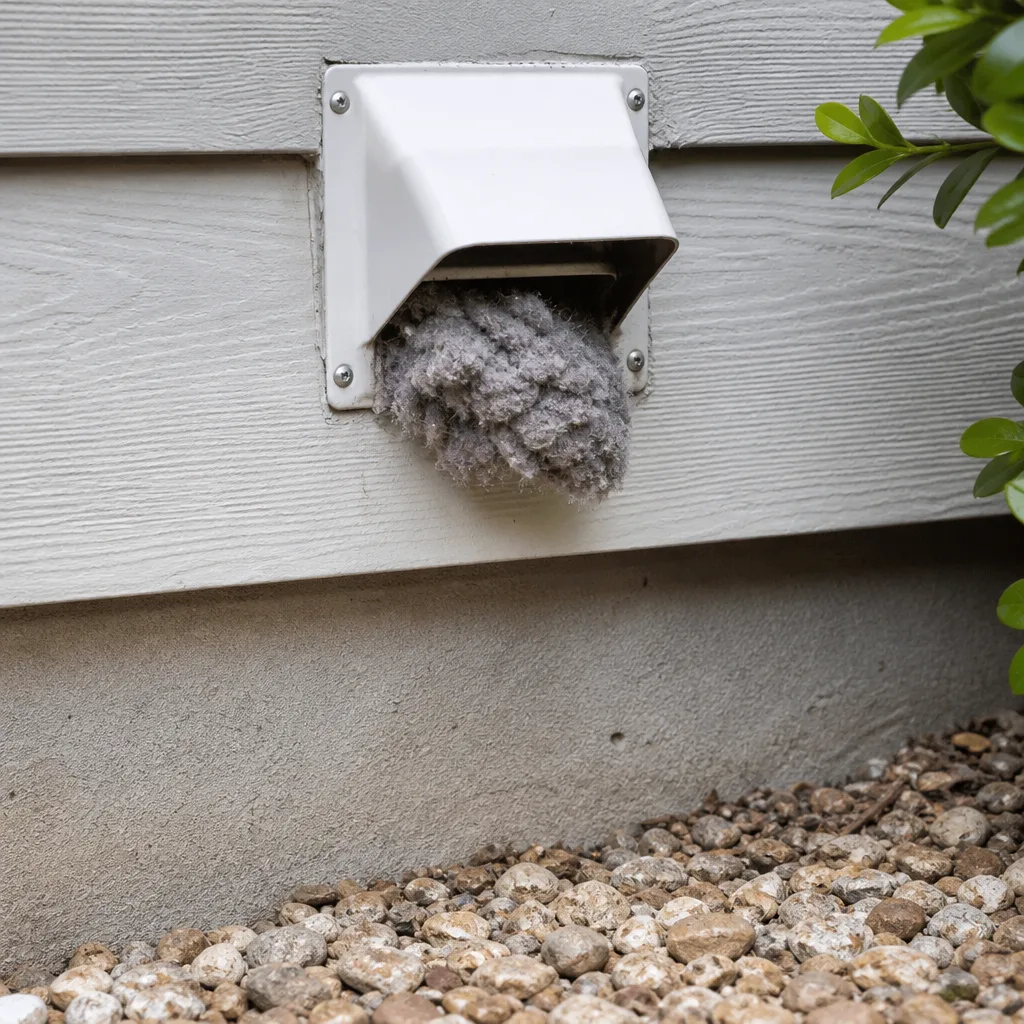 Dryer vent cleaning
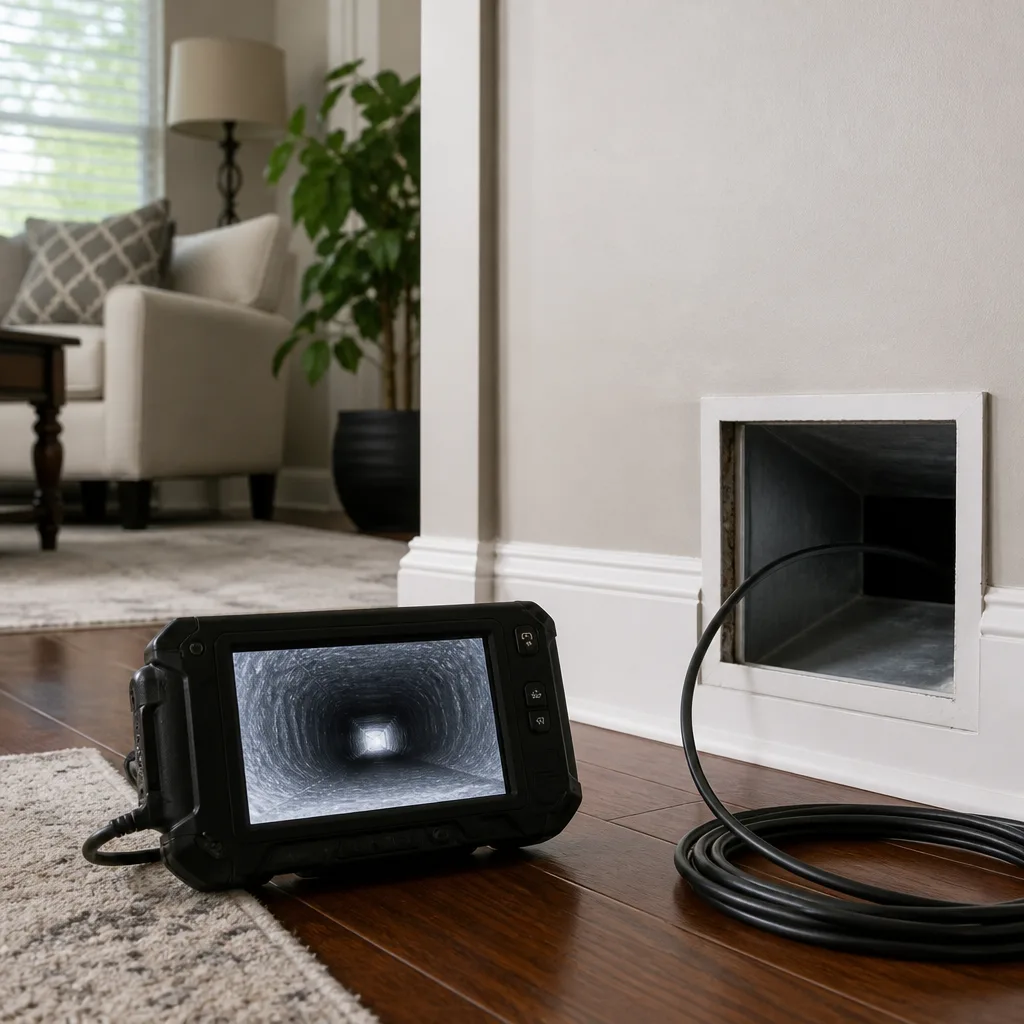 Camera inspection
 Sanitizing & deodorizing
Whole-system duct and dryer vent check with before-and-after photos - you see exactly what came out of your vents
That "$99 whole-house special" is a bait ad - the real number appears once they are in your hallway, or the "clean" is a shop-vac at the register. We photograph the inside of your ducts before and after instead.
DIY vs Professional Air Duct Cleaning: The Tampa Homeowner’s Decision Guide
A $30 dryer vent brush and a shop vac will handle register-level dust just fine. But using that same approach on a system with mold contamination doesn’t clean it, it aerosolizes it into your living space. If you own a home in Tampa, you’ve probably wondered whether duct cleaning is something you can tackle yourself or whether it’s worth paying a professional. This guide gives you a clear, honest framework for deciding, including the maintenance tasks you genuinely can do yourself and the situations where a DIY attempt becomes counterproductive. For related reading, see our How to Hire a Air Duct Cleaning Contractor in Tampa: A Step-by-Step Guide.
Quick Answer
DIY duct cleaning works for surface-level maintenance: register pulls, filter changes, and visible vent wiping. Professional cleaning is the right call when you’re dealing with mold, post-renovation debris, rodent evidence, or a system that hasn’t been cleaned in years. In Tampa, most standard whole-system air duct cleanings run $300 – $550 for a typical single-family home, and a professional job includes containment and HEPA filtration that consumer equipment simply cannot replicate.
Styles & brands we work with
Table of Contents
- What DIY Duct Cleaning Can Actually Do
- What DIY Duct Cleaning Cannot Do
- Tampa-Specific Risk Factors That Change the Math
- The DIY vs. Pro Decision Matrix
- DIY Maintenance Tasks That Actually Extend Time Between Professional Cleanings
- The Equipment Gap: What Pros Run vs. What You Can Rent or Buy
- Using Before-and-After Photos as Your DIY Baseline
- What Professional Duct Cleaning Costs in Tampa
What DIY Duct Cleaning Can Actually Do
Let’s be honest about what a homeowner with a weekend afternoon and a hardware store run can accomplish. The accessible parts of your HVAC system, the supply registers, the return grilles, and the first few inches of visible duct behind them, respond well to basic cleaning. A vacuum with a crevice tool, a microfiber cloth, and a screwdriver to remove register covers covers most of it.
Here’s a realistic scope of DIY duct work:
- Register and grille cleaning. Remove each cover, wash it with warm soapy water, dry it, and vacuum the visible duct opening behind it. This removes the dust you can see, which is also the dust most likely to re-enter your living space.
- Filter replacement. In Tampa’s humidity, HVAC filters load up faster than in drier climates. A clean filter is the single most effective DIY action for keeping duct interiors cleaner longer.
- Visible surface wiping. The inside of the return plenum and the first few inches of accessible duct can be wiped with a damp microfiber cloth. Do not use chemical sprays inside ductwork.
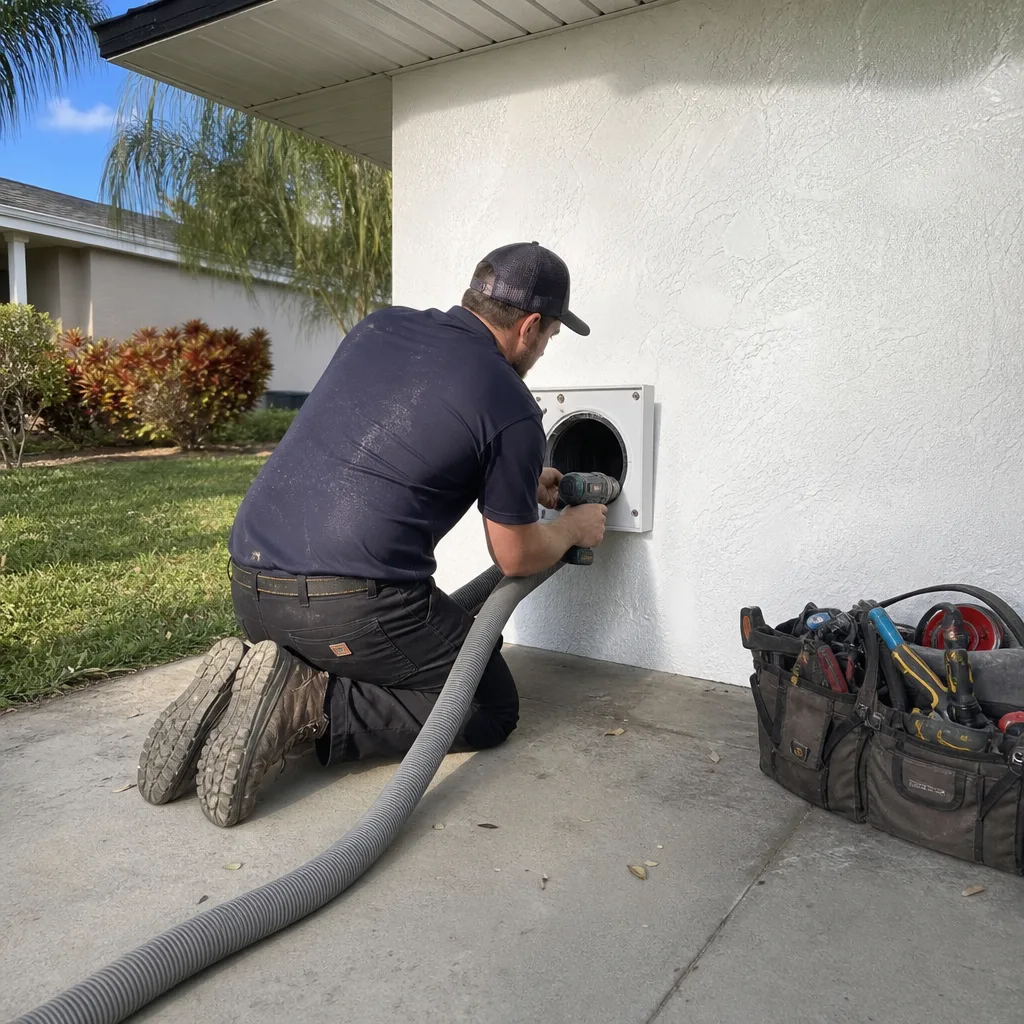
- Dryer vent brushing. A dryer vent brush kit sold at most Tampa hardware stores works for the first few feet of the vent run, provided the vent is a short, straight run to an exterior wall. For longer or multi-bend runs, see our Dryer Vent Cleaning in Tampa guide for what changes.
The honest ceiling of DIY duct cleaning is surface maintenance. You are not cleaning the duct system. You are cleaning the parts of it you can see and reach.
What DIY Duct Cleaning Cannot Do
The interior of your duct system runs through walls, floors, attic spaces, and crawl areas. In most Tampa homes, the total internal surface area of the ductwork exceeds 1,000 square feet. None of that is accessible with a shop vac and a brush on a flexible rod. Not effectively.
Professional duct cleaning relies on two things consumer equipment lacks. The first is agitation: brush systems that physically dislodge debris adhered to duct walls. The second is negative-pressure extraction, which means the loosened debris goes straight into a HEPA-filtered vacuum rather than back into your living room. A shop vac creates localized suction at best. It cannot pressurize the entire duct run, and it cannot filter the exhausted air to the standard that prevents recontamination.
Specific conditions that exceed any DIY capability include:
- Mold or microbial growth. In Tampa’s humidity, duct interiors can support mold growth, especially in flex duct runs through uninsulated attics where condensation forms. Attempting to clean moldy ducts with consumer tools disturbs the colonies and sends spores through the supply registers into your living space. Professional remediation requires containment equipment such as Abatement Technologies units that maintain negative pressure so airborne spores don’t escape during cleaning.
- Post-renovation debris. Drywall dust, paint overspray, and construction debris coat duct surfaces and require aggressive brushing to remove. A shop vac won’t touch dust that has been compacted into duct lining by construction traffic.
- Rodent or pest evidence. Droppings, nesting material, and carcass decomposition carry health hazards. Removal requires containment, HEPA filtration, and in some cases duct replacement. A DIY attempt risks aerosolizing pathogens.
- Fiberglass liner damage. Many Tampa homes built in the 1970s through 1990s have fiberglass-lined sheet metal ducts. As these liners age, they become friable and fragile. Disturbing a deteriorating liner with even a gentle brushing sends fiberglass particles into the air stream. Torn liners often require replacement, not cleaning.
In these situations, DIY cleaning isn’t merely less effective. It makes the problem actively worse by converting settled contamination into airborne contamination.
Tampa-Specific Risk Factors That Change the Math
Tampa’s climate works against your duct system in ways that homeowners in drier regions never have to consider. The single biggest factor is humidity. Average relative humidity in Tampa runs 70 – 80% through the summer months. When humid outdoor air infiltrates duct runs in uninsulated or poorly sealed attics, condensation forms on the interior duct surface. That condensation traps dust, creates a growth medium for mold, and accelerates the breakdown of fiberglass liners.
Three Tampa-specific realities shape the DIY vs. pro decision here:
- Attic-mounted air handlers are the norm. In many Tampa homes, the air handler sits in a hot attic where temperatures exceed 130°F in summer. Duct runs in that environment experience constant thermal stress. The flex duct material commonly used in these installations degrades under that heat, becoming brittle and prone to tearing. A DIY brush shoved down an aged flex duct is a realistic tear risk, and a torn liner converts a cleaning job into a replacement job.
- Hurricane season debris entry. After any named storm passes through the Tampa Bay area, fine particulates and moisture enter homes through compromised seals, soffit vents, and roof penetrations. Post-storm duct inspections frequently reveal debris accumulations that settled during the storm. This is not surface dust; it is often packed sediment that requires professional agitation.
- Pollen and allergen loading. Tampa’s year-round growing season means continuous pollen deposition inside duct systems. Combined with humidity, this creates a coating on duct walls that hardens over time. Once hardened, it resists anything short of mechanical brushing.
We point this out because it changes the maintenance calculus. In a dry climate, a duct system might go five to seven years between professional cleanings without meaningful accumulation. In Tampa, the same system often needs professional attention every three to five years, even with diligent filter habits, because of the humidity and allergen load alone.
The DIY vs. Pro Decision Matrix
Here’s a straightforward way to decide. If your situation matches the left column, DIY is appropriate. If it matches the right column, call a professional. If you are somewhere in the middle, err toward professional.
| DIY is appropriate when: | Call a professional when: |
|---|---|
| You see dust on register covers and the first inch of visible duct | You see visible mold, dark staining, or a musty odor from the registers |
| Your filter is dirty and it’s been a while since you replaced it | You just completed a renovation or major construction project |
| The dryer vent is a short, straight run and you can see daylight through it | The dryer vent runs more than 6 feet or has more than one bend |
| You know the system was professionally cleaned within the last 2 – 3 years | You have no record of the system ever being cleaned, or it’s been 5+ years |
| You want to stay on top of regular maintenance | You see rodent droppings, nesting material, or hear pest activity in the duct run |
| Your home is new construction or the ducts were replaced within the last few years | Your home was built before 2000 and still has original flex duct or fiberglass-lined sheet metal |
One other consideration: if any member of your household has a respiratory condition, asthma, or severe allergies, you should default to professional cleaning even for marginal cases. The containment and HEPA filtration a professional system provides isn’t just about cleaning effectiveness. It’s about keeping the process itself from filling your living space with the very particulates you are trying to remove.
DIY Maintenance Tasks That Actually Extend Time Between Professional Cleanings
This is where DIY really earns its keep. The maintenance tasks below genuinely extend the interval between Air Duct Cleaning services. They do not replace professional cleaning, but they reduce the frequency with which you need it. In our experience across Tampa homes, a homeowner who follows this list can often stretch the professional interval from three years to five.
- Change or clean your filter on schedule. In Tampa, that schedule is tighter than the generic 90-day recommendation. During summer, when the AC runs continuously, monthly checks are appropriate. A pleated MERV 8 – 11 filter is the sweet spot for most systems. Aprilaire makes filter media that fits many whole-home filtration housings and performs well in humid conditions.
- Vacuum accessible register and return openings monthly. This takes 15 minutes and prevents surface dust from being pulled deeper into the system. Use the soft brush attachment on your vacuum; do not push the hose into the duct beyond what you can see.
- Keep the area around the air handler clean. If your air handler is in a garage, closet, or utility room, dust and debris near the return side of the unit will be pulled into the system. Sweep and vacuum that area monthly.
- Brush the dryer vent run if it is short and accessible. Disconnect the dryer, run a vent brush through the accessible run, and reconnect. Do this twice a year. If the run is long, multi-bend, or inaccessible, schedule a professional Dryer Vent Cleaning in Tampa instead.
- Wipe down the evaporator coil and condensate drain pan if accessible. In Tampa’s humidity, the evaporator coil stays wet through most of the year and collects biofilm. If your air handler has an access panel that lets you see the coil, a gentle wipe with a manufacturer-approved coil cleaner (never bleach, which corrodes aluminum fins) helps reduce the biological load that contributes to duct contamination. If the coil is not easily accessible, leave it to a professional.
- Take a photo of the duct interior at the register with your phone flashlight. This is your baseline. Knowing what a clean-looking duct interior looks like in your home means you’ll recognize when something changes, whether that’s dust accumulation, staining, or damage.
The common thread: DIY maintenance is inspection and surface work. It keeps the system’s openings clean and lets you monitor for changes. The moment you find something that looks like microbial growth, significant buildup, or damage, stop the DIY work and get a professional assessment.
The Equipment Gap: What Pros Run vs. What You Can Rent or Buy
It’s worth understanding what you’re comparing, because the phrase “duct cleaning” covers a wide range of approaches, and not all professional jobs are equivalent either.
Consumer-grade equipment. A shop vac with a long hose, a dryer vent brush kit, and maybe a borescope you bought online. Total cost: $75 – $200. Capability: cleans what you can see and reach, which is about 1 – 3% of the total interior duct surface area in a typical Tampa home. It cannot agitate debris that is adhered to duct walls, cannot filter exhaust air to HEPA standards, and cannot create negative pressure across the entire duct run.
Professional rotary brush systems. Companies like Rotobrush manufacture equipment that combines motorized brush agitation with vacuum extraction in a single pass. The brush head spins inside the duct, physically dislodging debris, while the vacuum removes it. This is genuinely different from a shop vac because the agitation is mechanical and continuous, not dependent on the operator’s arm strength.
Professional HEPA-filtered negative air systems. Nikro is one manufacturer known for HEPA-filtered portable vacuums built specifically for duct cleaning. These units pull a massive air volume through a HEPA filter while the cleaning work happens, so the duct interior is held under negative pressure for the duration of the job. Contaminants loosened during agitation get pulled to the vacuum intake rather than drifting back into your living space through the registers.
Containment units. Abatement Technologies builds containment systems used in mold remediation and duct cleaning where airborne hazard control is required. These units seal off the work area and create negative air pressure so that any spores, dust, or debris released during cleaning stay contained and get filtered rather than spreading through the home.
No consumer rental option at a Tampa equipment yard replicates this configuration. Some big-box stores rent carpet cleaning machines with long hoses, and some homeowners try to adapt them for duct work. It does not work the same way, and we’ve seen the results: debris blown back into the home through the registers, wet duct interiors from unintended cleaning solution application, and liner damage from improvised brush attachments.
Using Before-and-After Photos as Your DIY Baseline
One of the most useful things a professional cleaning gives you is also one of the least discussed: photographic documentation of your system’s interior condition. If you ever get a professional cleaning done, ask for before-and-after photos. Any reputable provider offers them. The Cardinal Air Duct Tampa home page explains what our standard photo documentation includes; every job includes visual proof of the work.
Here’s how to use those photos as a DIY maintenance tool:
- Store the photos somewhere you will actually find them. Your phone’s camera roll is fine. Create an album called “HVAC” so they don’t get buried.
- Compare your monthly register inspections to the after photos. When you vacuum a register and shine your phone flashlight inside, you should see something that resembles the clean duct surface from the after photo. If the interior looks dramatically different, that’s an early signal that accumulation is happening.
- Track accumulation over time. Take your own photo every six months at the same angle. Compare side by side. This gives you a visual timeline of how quickly your system is loading up, which tells you whether the three-to-five-year professional interval is right for your home or whether Tampa’s pollen and humidity are hitting your system harder than average.
- Document changes after storms or renovations. If you complete a renovation, take new photos before and after. If debris appears post-construction, you have a clear before image that proves the accumulation happened during the project, which matters if you need to pursue the contractor about cleanup.
This documentation habit is also the most reliable way to know whether a future “we see mold in your ducts” scare from any company is legitimate. If your baseline photos show clean duct interiors and your monthly checks have been consistent, you have the data to evaluate those claims dispassionately.
What Professional Duct Cleaning Costs in Tampa
Most Tampa homeowners pay between $300 and $550 for a complete air duct cleaning of a typical single-family home, which we define as a 1,500 – 2,500 square foot house with one air handler and 8 – 14 supply registers. Condos and smaller homes run on the lower end or slightly below that range. Larger homes with multiple air handlers, or homes where the system hasn’t been cleaned in 8+ years, run higher.
Here’s how that breaks down:
- Base system cleaning (one air handler, standard home): $300 – $450. Includes supply and return ducts, supply registers, return grilles, the air handler interior, and the blower compartment.
- Second air handler or zoned system: Add $100 – $200 per additional unit.
- Dryer vent cleaning add-on: $75 – $150, depending on run length and accessibility.
- Mold or microbial remediation: $600 – $1,500+, depending on the extent of contamination and whether containment is required.
- Antimicrobial treatment after cleaning: $150 – $350, if recommended and approved by you.
Be wary of any Tampa duct cleaning quote below about $250 for a whole-home job. At that price point, the work is almost certainly register-vacuuming only, with no real agitation and no containment. More detailed pricing and what’s included is covered in our Air Duct Cleaning in Tampa guide.
One other note on cost: a professional job should include the written price before any work starts. Not an estimate, not a range, not a “we’ll see once we get in there.” A written price. The HVAC Cleaning in Tampa page explains what a full HVAC scope includes and what our written-price policy covers. If a company won’t put the number in writing before they touch a duct, that’s a signal to find another company.
Common Mistakes to Avoid
- Using a leaf blower to “blow out” the ducts. This sends the debris through the system and into your living space at high velocity. It also pressurizes the ducts, which can blow apart poorly sealed joints in older Tampa homes. Never do this.
- Spraying bleach or household disinfectants into duct openings. Bleach corrodes aluminum coils and evaporator fins. Household sprays leave residues that trap dust and off-gas into the living space. Antimicrobial treatment in ducts should always be done by a professional with the right product and application equipment.
- Running a shop vac hose deep into flex duct. Flex duct is fabric-wrapped. The interior liner tears easily, especially in Tampa attics where heat has already made the material brittle. A torn liner means the duct section needs replacement, which costs far more than a professional cleaning would have.
- Ignoring the return side of the system. DIY efforts almost always focus on supply registers because that’s where you see the dust. But the return side pulls air into the system, and a dirty return plenum or return duct contributes contamination to the entire system. If you’re doing surface cleaning, do the return side too.
- Waiting until there’s a visible problem to address the system. In Tampa, the systems that need the most expensive remediation work are the ones that were ignored for 10 – 15 years, not the ones that got cleaned on a regular schedule. Regular maintenance, professional or DIY, costs less than emergency remediation.
- Assuming every professional quote includes the same scope. Ask what’s included: all supply and return ducts? The air handler? Register cleaning? Dryer vent? Some quotes cover only the duct runs and leave the air handler, which is often the dirtiest single component, untouched.
See the difference
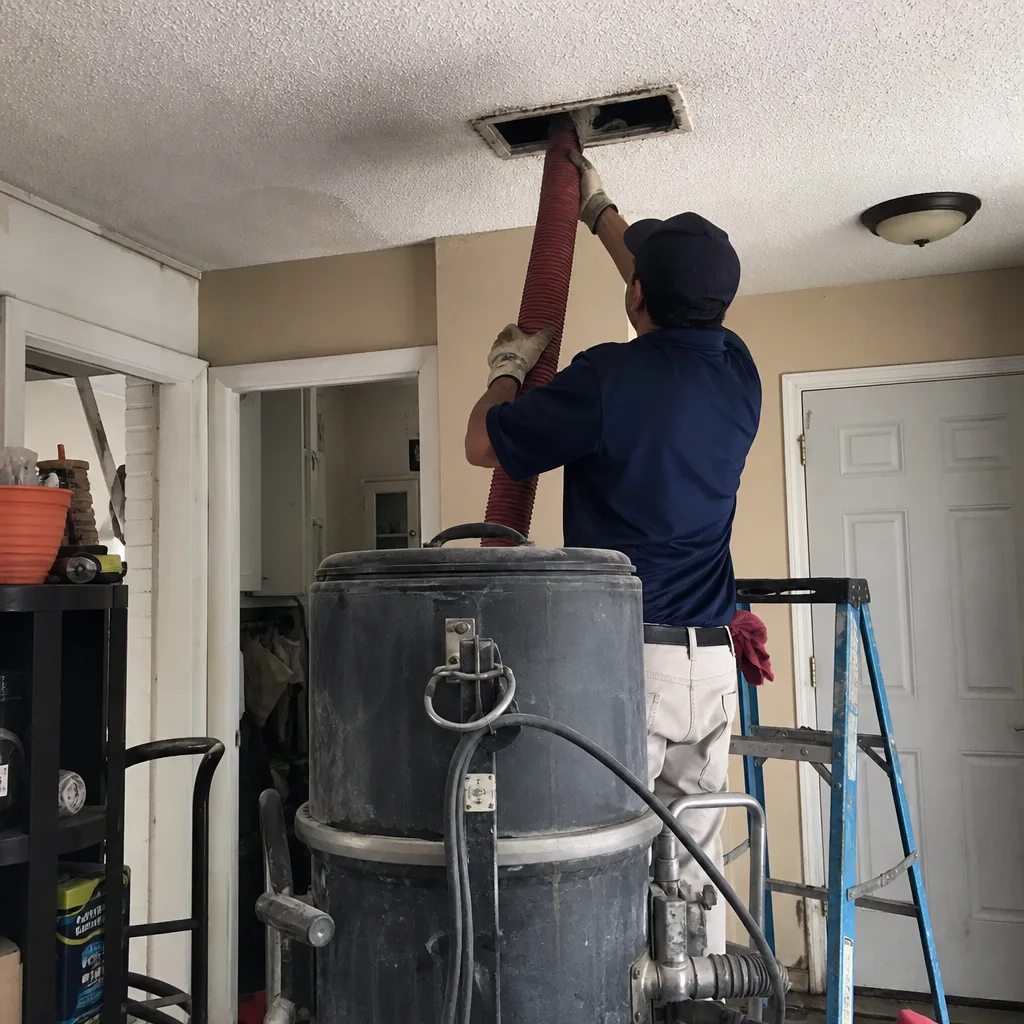 Before
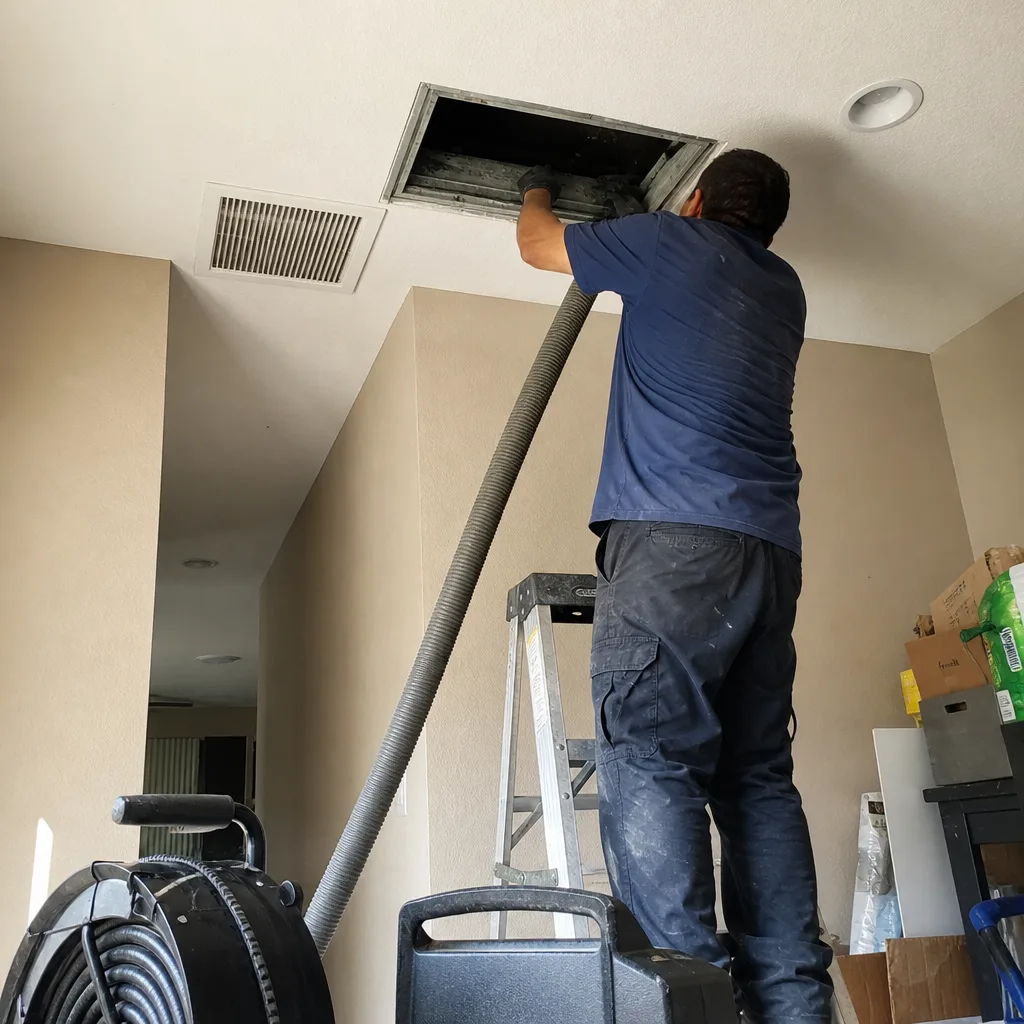 After
After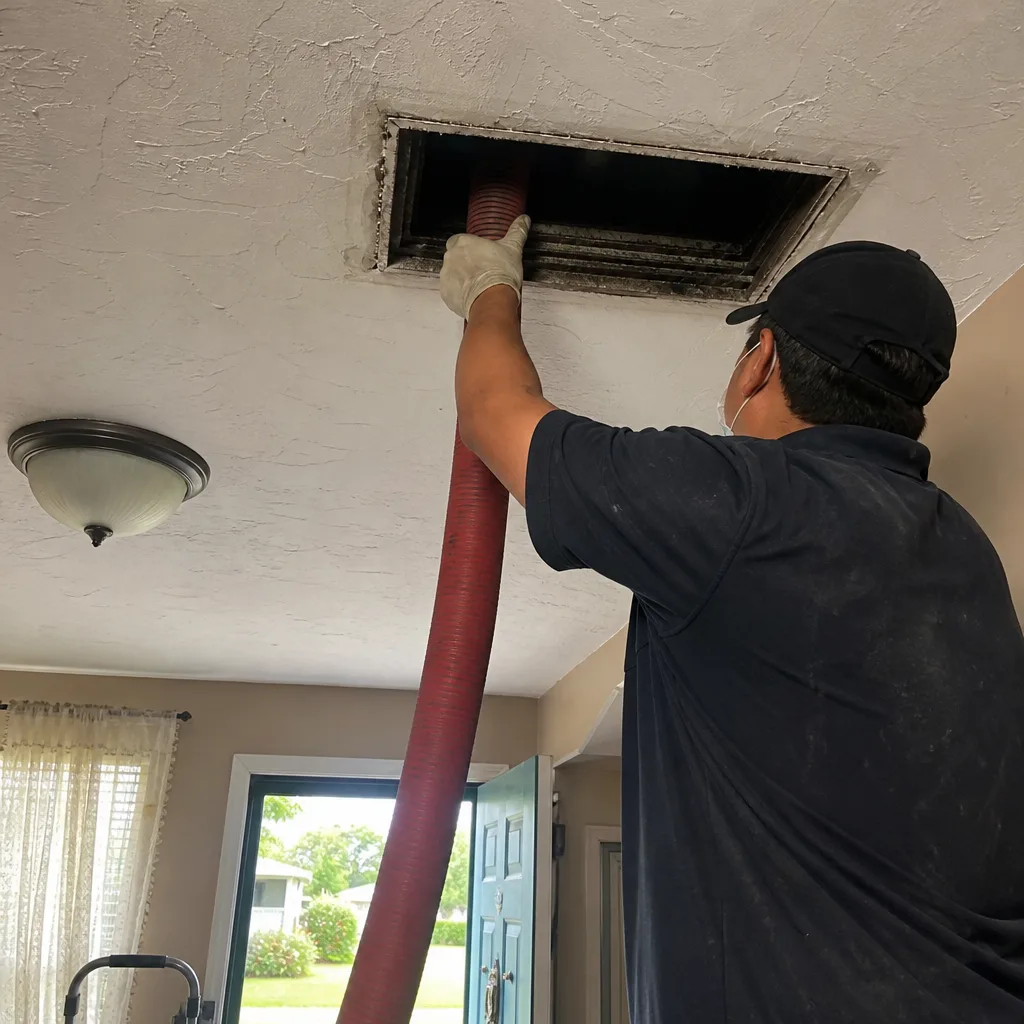 Before
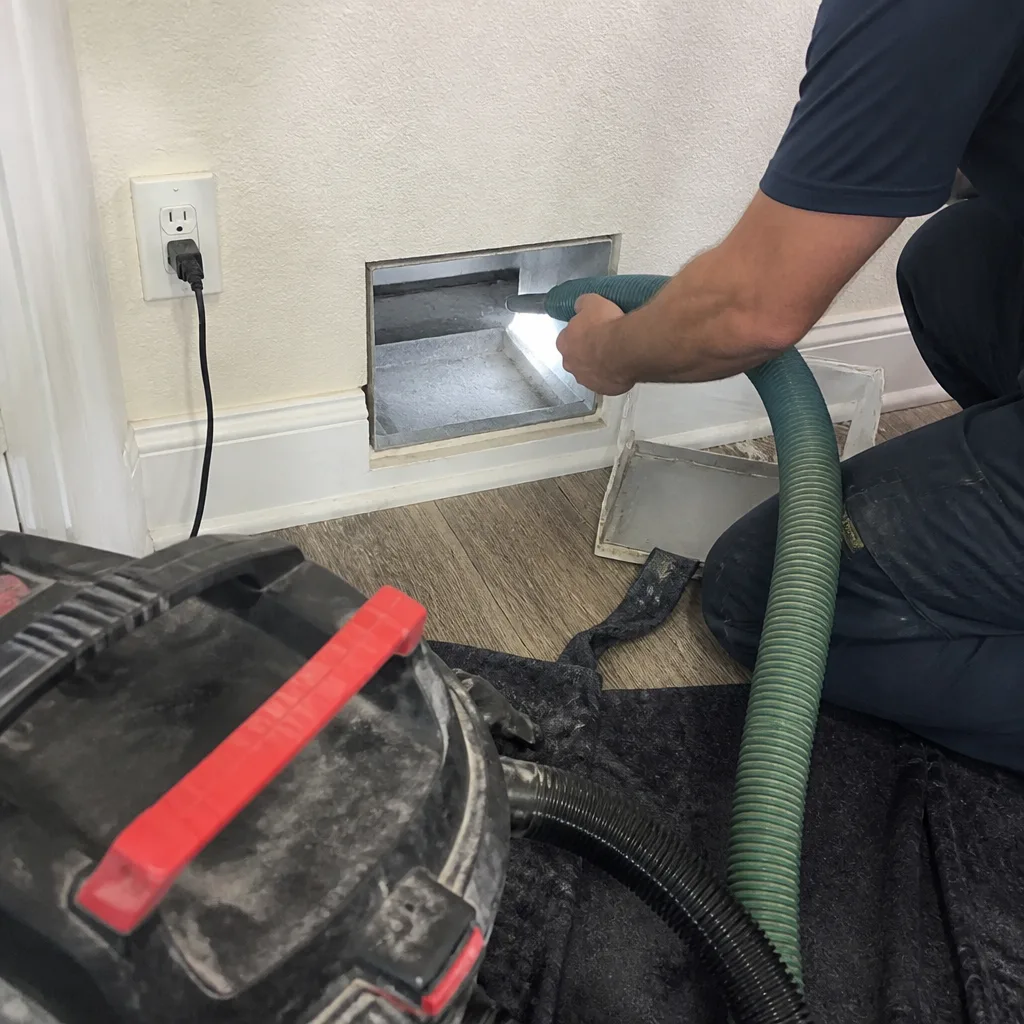 After
After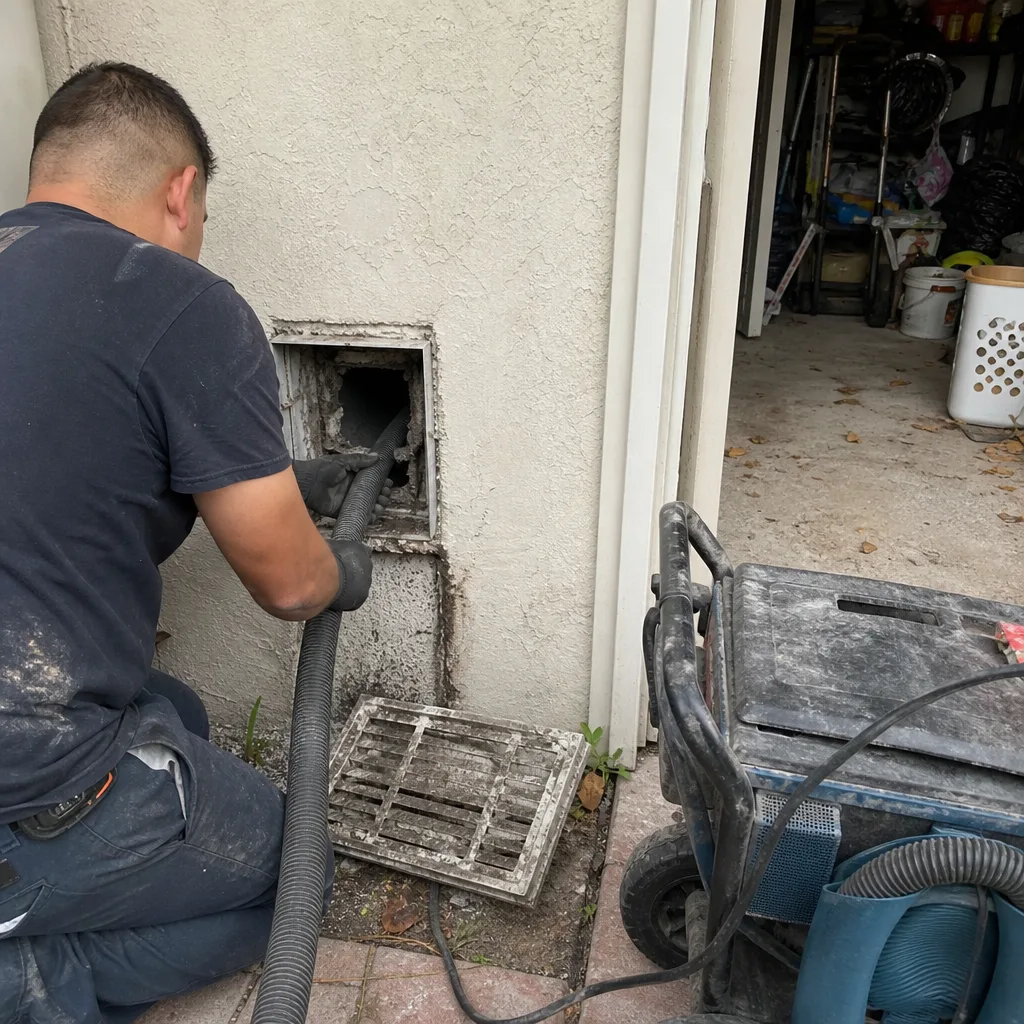 Before
 After
AfterWhen to Call a Professional
If you see mold or dark staining around register openings, that’s a professional call. If you smell a musty odor when the AC cycles on, that’s a professional call. If you just finished a renovation or major construction project, that’s a professional call. If you’ve found rodent droppings, nesting material, or evidence of pest activity in or around the system, that’s a professional call. If your ducts haven’t been cleaned in five or more years and you live in Tampa, where humidity, pollen, and storm debris load systems year-round, that’s a professional call. For a full maintenance schedule, see our Dryer Vent Cleaning Maintenance Checklist for Tampa Homeowners. Cardinal Air Duct Tampa offers free estimates in Tampa
call (850) 403-3474. We’ll give you a written price before any work starts and show you before-and-after photos when the job’s done, so you know exactly what you paid for.
Frequently Asked Questions
Most whole-home air duct cleanings in Tampa run between $300 and $550 for a standard single-family home with one air handler. Homes with multiple units, significant contamination, or systems that haven’t been cleaned in many years run higher. Be skeptical of quotes below about $250, which usually mean register vacuuming only. Call (850) 403-3474 for an exact written quote, estimates are free.
You can clean the visible register openings and the first few inches of duct behind them with a shop vac and brush attachment, which handles surface dust but nothing deeper. A shop vac cannot agitate debris adhered to duct walls or create the negative pressure needed to extract contamination from the full duct run. Use DIY for surface maintenance and leave interior cleaning to professional equipment.
Cheaper quotes usually mean a smaller scope: register vacuuming only, no air handler cleaning, no agitation, no containment, and no HEPA filtration. The low price gets a technician in the door, but the job doesn’t actually clean the system. A legitimate whole-system cleaning uses agitation plus negative-pressure extraction and takes several hours. If the price seems too low for that amount of labor and equipment, it’s because the scope is smaller than you’re assuming.
Ask for before-and-after photos from inside the ducts themselves, not just register covers. You should see a visible difference in the duct interior, particularly at the return plenum and the first few feet of supply runs. A legitimate company documents the work. Call (850) 403-3474 and ask about our photo documentation standard before you book.
In Tampa’s humidity and year-round pollen load, professional cleaning every three to five years is a reasonable interval for most homes. Homes with pets, recent renovations, or family members with respiratory conditions may need it more often. Homes that stay on top of filter changes and surface maintenance may stretch toward the longer end of that range.
Yes, but the argument is about system health rather than air quality alone. Debris accumulation increases static pressure in the system, which reduces airflow, increases energy consumption, and shortens the life of the blower motor and evaporator coil. In Tampa, where AC systems run hard for most of the year, keeping the system clean is a mechanical-maintenance decision as much as an indoor-air-quality one.
The Bottom Line
The DIY vs. professional duct cleaning question has a clearer answer than most home improvement debates. DIY handles maintenance: filters, registers, visible surfaces, and monitoring. Professionals handle remediation: mold, construction debris, rodent contamination, and deep accumulation. The expensive mistake is using the wrong tool for the job. A shop vac won’t clean your ducts, but it will keep the register openings tidy. A professional cleaning won’t replace your filter-changing habit, but it will restore the system to a clean baseline you can maintain. In Tampa, where humidity and pollen load the system year-round, the smart approach is both: DIY maintenance between professional cleanings, and professional cleaning every three to five years. For more guides & resources, explore our blog.
Written by Omar Haddad, Owner at Cardinal Air Duct Tampa, serving Tampa since 2005.